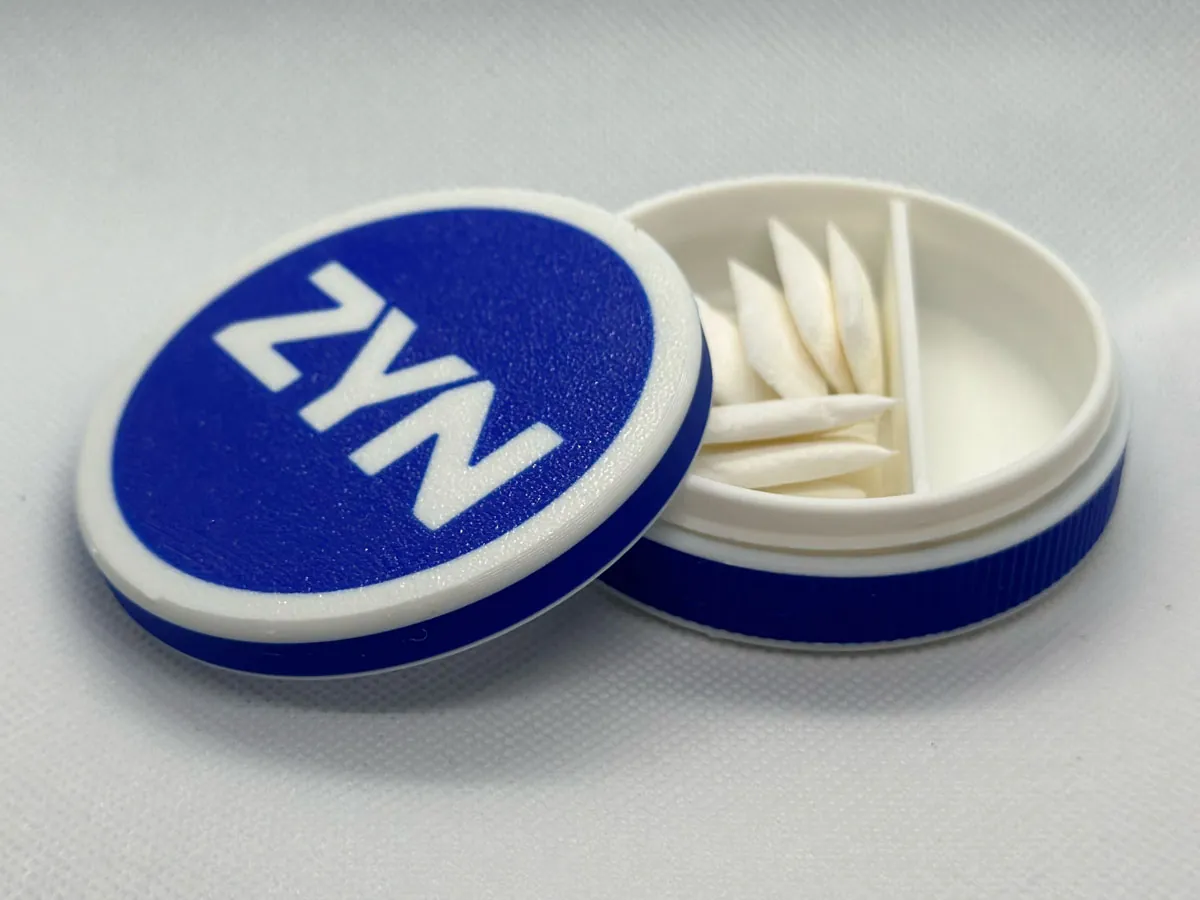
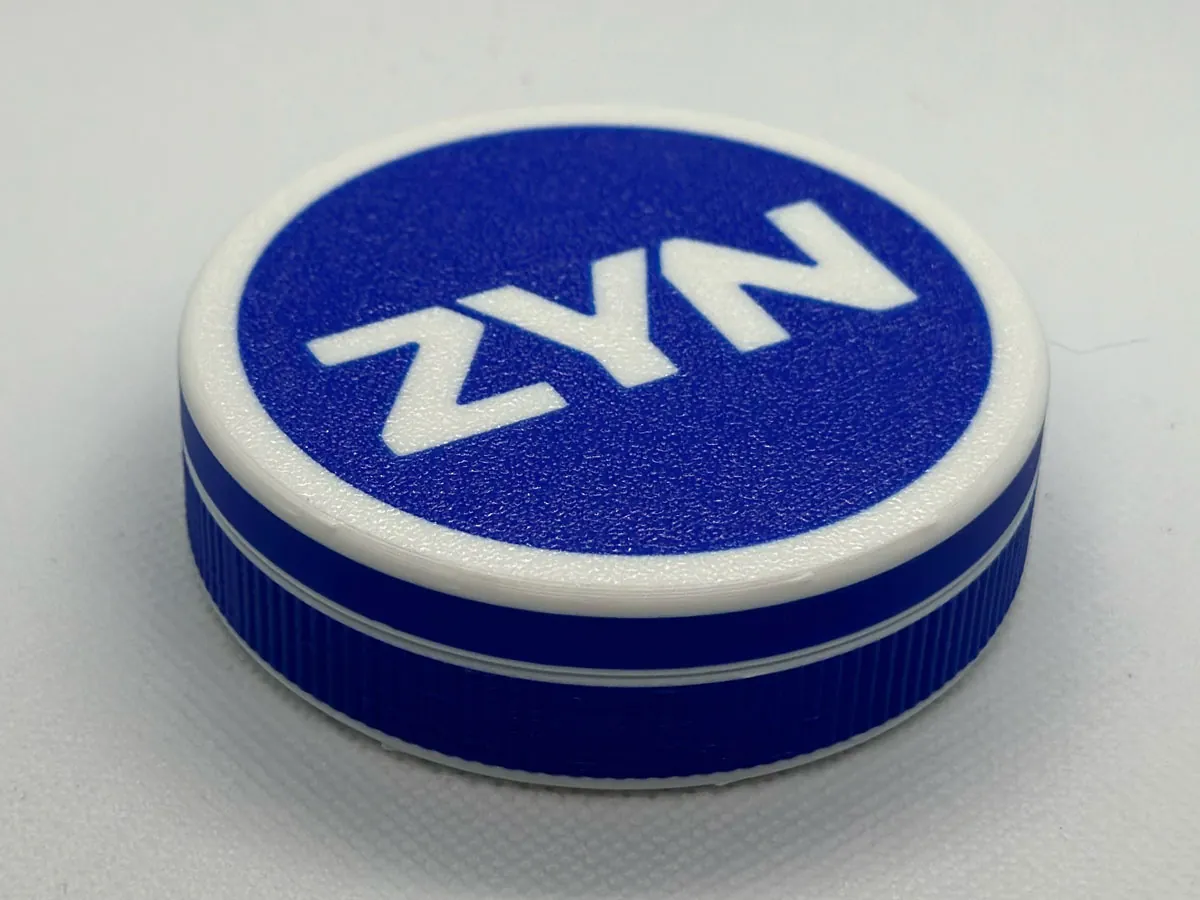
This is a replacement Zyn can you print yourself, and it was the first container I put up. Zyn is a brand of nicotine pouches, and they come in a small round can; this one is the same diameter and depth, so it goes wherever that one goes. It holds a little more, which isn’t necessarily thinner walls. The store can just has less room inside it than this does, because of how the can is designed.
I go through a lot of these, and there isn’t always a trash can around when I’m done with one, so a spot for the discards seemed worth having.
The bigger reason was practice. I’d done a little 3D work in my undergrad and hadn’t really touched it since, and I wanted to get proficient at modeling. At the time my understanding of Shapr3D was still very beginner level, and cylindrical objects were about the peak of my ability. When I get the bug to make something, I try to assess the skills I have, then the skills I’d like to learn, then what I can make that would teach me those. I wanted to try a functional two-part model. So I started with an easy one, a threaded cylindrical container.
Threads that wear in
Two parts that thread together, no glue and no magnets. The easy-open in the title is the lid: it unscrews, no prying at a seam with your thumbnail.
The threads took some tries. The ones in this can were a happy accident. I still hadn’t figured out how to do good threading, I just happened to get it right one time.
It gets easier to open if you twist the cap around several times, and I recommend giving it a good rinse after you do.
The ribbed texture on the outside was an accident too, and then I got the explanation for it wrong in public. There’s a whole post about that.
If I redid this one, I’d do better threading. And I’d deliberately design the ribs, instead of counting on a mistake on my part being what generates them.
PLA, or two-tone
Somebody printed one in two colors and couldn’t work out how to get the sides done in green as well. I guess that’s probably inexperience with the slicer, because of the way I cut the files. Those bands are their own individual parts, so you go into the slicer and set them to use a specific filament. They aren’t really designed to be printed on their own. I included them because that’s how I color the model myself.
I print it in PLA at 0.16 mm layers, 2 walls, 15% infill, no supports, about three and a half hours. People have done it in PETG too, including one in clear PETG with a colored lid, and the two-tone looks sharp.
On selling these
Plenty of folks have reached out about commercial licensing. I’m flattered, and I want to clarify: I really don’t mind if you print a few of these out for your friends or coworkers and make a few bucks doing it, or print out a bunch with your community sports team or job crew logo on it. I hardly consider that commercial, and I think that’s cool. I don’t mind folks printing a bunch of these for philanthropic fundraising either, to raise funds for a community fire department or something. I really like the sound of that, and all I ask is that you give me a heads up and send me a photo of the final product.
What I don’t want to see is people mass printing and selling these as a product. That’s not cool. So please don’t do that.
Somebody did exactly that, the logo thing. He printed a set for his sons’ softball team with their jersey numbers on them. There’s a softball team out there with little matching Zyn containers, and it’s my design. That’s just cool.
I make things because it’s compulsive, because it’s what I’ve always done, and because I enjoy it, working through a problem and coming up with some sort of finished product. But the part I get a real kick out of is the idea that something I made has become some stranger’s everyday carry.
Files
STL, STEP, and OBJ. The STEP and OBJ are in there to make it easier to remix and make your own designs. If you do, share your photos.